When I started my YouTube channel, I only knew a few things about video editing as I focused on the content that I wanted to do. Since it is a personal channel, I need to be the one to edit my video, so I relied on simple video editing apps.
One of the best video editing apps that I used is Vlog Star. It is an all-in-one editor meant for vlogs and intro makers. The Vlog Star app has a long list of fantastic features like transitions, video effects, and music.
Check how I use the features and tools of the Vlog Star app for making my YouTube vlogs. Plus, learn how to download the Vlog Star app below.
- Introducing the Vlog Star App
- Setting Up the Vlog Star App
- Checking the App’s Features Tutorial
- Editing a Video on Vlog Star
- Putting Transitions on the Frames
- Adding Texts and Stickers
Introducing the Vlog Star App
I decided to start my YouTube channel on an impulse, so I only planned the content I wanted to create for my channel. However, I did not consider that I needed to do the video editing for an appealing video.
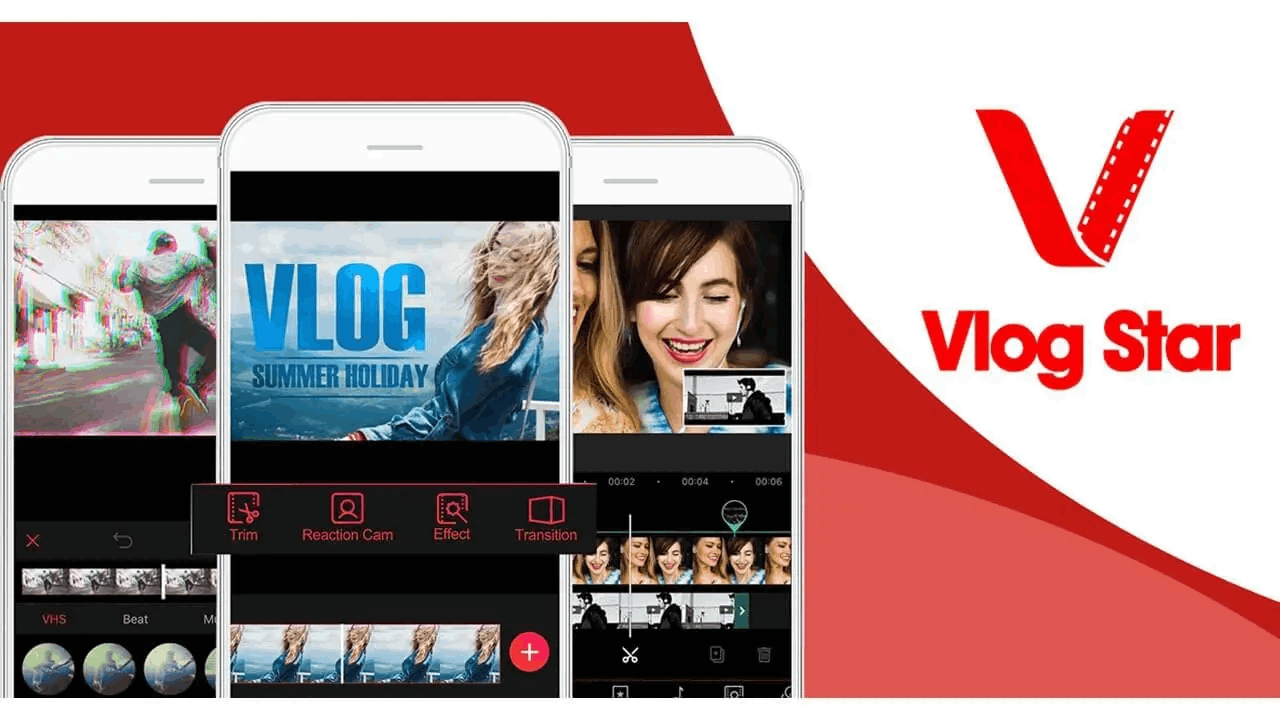
Since I already created the content, I decided to use mobile video editing apps to work on my videos. Since then, the Vlog Star has been my companion because it has powerful video editing tools yet is user-friendly, especially for those with little knowledge of video editing.
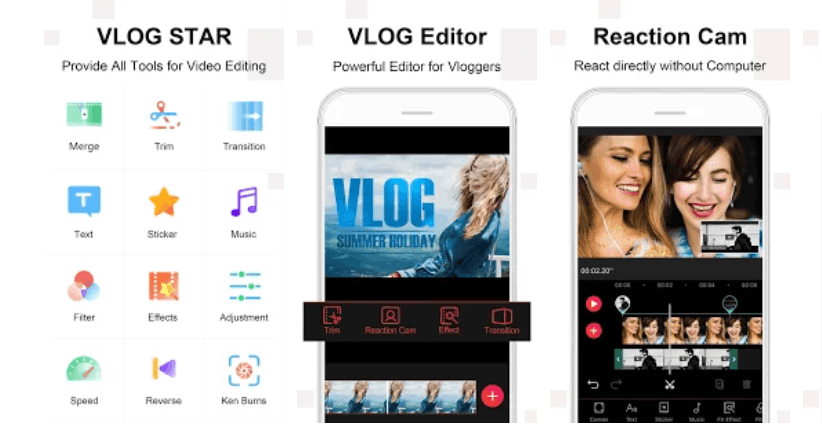
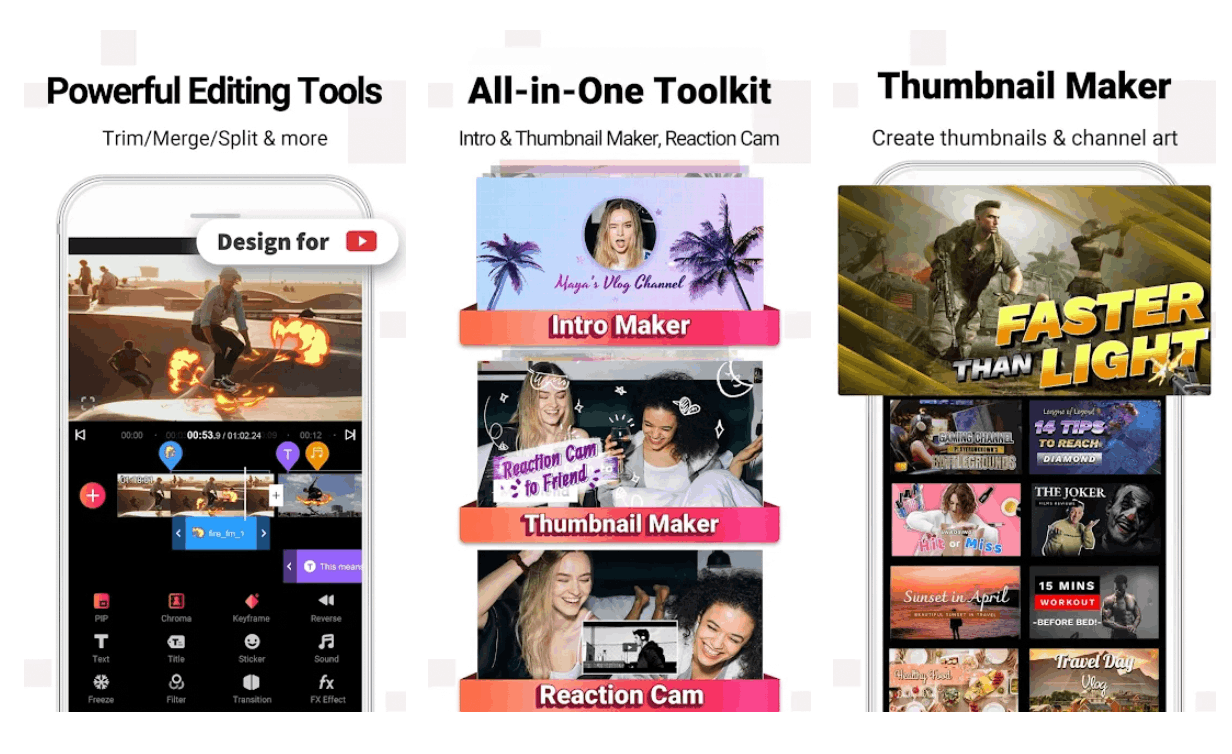
The app lets me enjoy its large pool of transition and video effects, including the slow-motion and reverse effects. It also supports a reaction cam, intro maker, and green screen to ensure that all kinds of YouTube content will be catered to.
Millions also trust the app for its features and tools because even if the app was just released in June 2018, it has over 10 million downloads. Moreover, Vlog Star consistently receives excellent user reviews and high user ratings.
Downloading the Vlog Star App
The Vlog Star app is easy to download because it is available on the Google Play Store and the Apple App Store for free. However, Vlog Star offers several in-app purchase items for the premium features and tools. It also has a VIP subscription that costs $2.99 per month.
Some things that users can purchase include removing the watermark as well as the intro maker and thumbnail maker. Moreover, the app supports the following operating systems: iOS 11.0 or later, iPadOS 11.0 or later, and Android OS 5.0 and up.
Setting Up the Vlog Star App
Since Vlog Star is a video editing app, it requires many mobile device features and functions whenever I need to use it. Thus, the Vlog Star app asks to access some mobile devices’ functions.
The app wants to access my photos and media files to read and modify the internal and external file storage content. It also asked me to access the phone’s microphone to record audio. Moreover, Vlog Star wants to view my Wi-Fi connection.
Vlog Star intends to do the following on my mobile device: draw over other apps, have full network access, prevent the mobile device from sleeping, control vibration, view network connections, and modify the system settings.
Exploring the Home Page
After granting all the permissions to the Vlog Star app, I can now explore its Home page. My first impression of the interface was sleek and organized. Almost all the available features are on the app’s Home page.
The “Start New Project” button is at the center of the screen, together with the remaining storage space on my phone. Below the said button are the following features: Reaction, Music Video, Intro Maker, Thumbnail Maker, Channel Art, Speed, Voiceover, and Reverse.
At the bottom of the screen, I can find the Home, Beat Edit Template, and My Work tabs. Meanwhile, the Home page’s top portion contains the “Settings” icon, Vlog Star VIP menu, and the tutorials.
Checking the App’s Features Tutorial
I already mentioned that the app is user-friendly because even if I do not have much knowledge of video editing, I can still use the app and produce a quality video. As proof of its user-friendliness, Vlog Star provides tutorials that guide the users to use the basic tools and features of the app.
There are 12 Vlog Star tools and features on the tutorials, all of which are the most commonly used ones. The guide provided contains instructions on how to use the tools and a short video clip for a better understanding of users.
I appreciate that the app includes text instruction and a short clip so that we can easily follow the steps. Users can learn how to trim videos, split videos and pictures, and edit material start times through the tutorials.
Moreover, I discovered how to adjust the material duration, edit text, add stickers and PIP, edit music, adjust video and picture sequence, zoom timeline for precise edits, delete video and pictures, import music, and how to add music for Music Beat template.
Starting a Project on Vlog Star
Whenever I want to start a project on the Vlog Star app, I need to ensure that I have a copy of the raw video files on my phone to easily import them on the app. Upon clicking the “Start New Project” button, the app will display all the video files in my gallery.
Aside from the videos, I can also check the photos saved on my phone. I may also use the stock videos available on the app for the intro, background, poster, outro, and green screen. I can also set up the “React Cam” for a reaction video.
Vlog Star also allows me to record a new video directly from the app. Since I have already shot most of my videos already, I just need to select all the videos. Yes, the app supports selecting multiple clips. After choosing the clips, I just need to tap the “Add” button.
Editing a Video on Vlog Star
Immediately after I added the video clips that I wanted to edit, Vlog Star wanted to set up the aspect ratio of the videos. It provides three canvas ratios to automatically crop and stretch the raw videos into 16:9, 9:16, or 1:1.
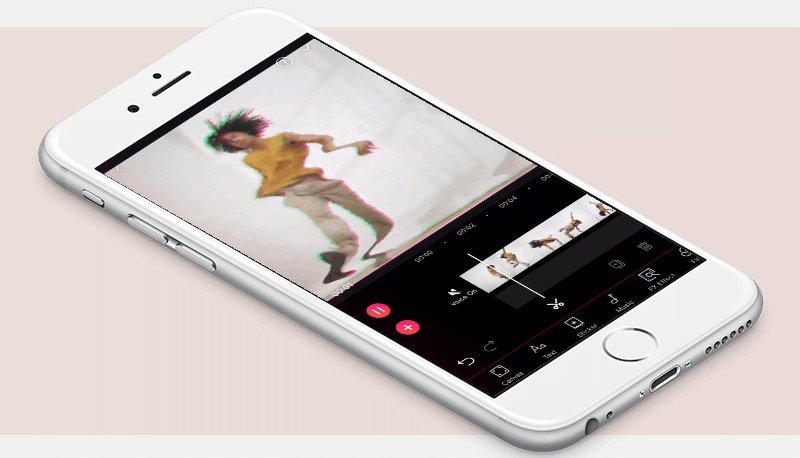
Once I selected the ratio, the app now displays the timeline of the videos put together. I can easily find the frame that I want to edit specifically through the timeline. There are the left and right arrows to navigate on the timeline.
The app also displays the current video duration so that I will know the length of the project, especially if I need to meet a specific video duration only. This is crucial because I only have short content for my YouTube channel.
There is also the video playback or display at the center of the screen where I can see the frames. I can utilize the play and rewind button to see if there are necessary changes to make.
Cutting and Rearranging Frames
After setting the ratio and video duration of the project, I can now use the video editing tools. One of the basic tools is cut, which I can use by tapping the “scissors” icon below the timeline.
Once I set the frames I want to cut, the app supports zooming in and out of the frames by pinching. If I have multiple cut frames and clips, I can easily rearrange them by holding and dragging them to the target location.
Putting Transitions on the Frames
Since I already have several frames cut, there will be a clear identifier of the clips, so the app suggests using transitions between the cut frames. To add a transition, I just need to tap on the “plus” icon at the start of each cut frame.
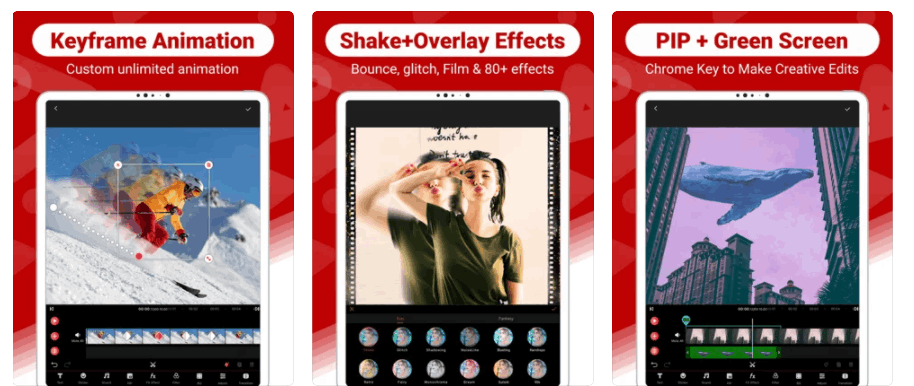
There are nine transition categories on the Vlog Star app, and each category contains numerous transitions: Popular, Camera, Liquify, Glitch, Wipe, Shape, Blur, 3D, and Slice. Thus, I will not have a problem finding the most appropriate transition for my frames.
However, some of the transitions are only available for those who availed of the Vlog Star VIP subscription. Nonetheless, there are still many free transitions to use.
Adding Video Effects
One of the Vlog Star features that amazes me is the video effects. It has many options for the video effects so that I can make my project visually appealing. The effects can be quirky, formal, or artsy.
I can find the most used effects on the app on the Popular tab. Some of the effects on this tab are OpenVert, Quake, Blur, Endless, Shadowing, Rotate Shake, Heartbeat, Dazzling, Glitch, and many more.
The app offers the following video effects under these categories: Shake, Beat, Blur, VHS, Film, Retro, Multi, and Art. Note that some of the effects are also only available for VIP users.
Adding Texts and Stickers
Most of my video content has texts because I want my viewers to understand what I am saying. Thus, I often use the text feature on the Vlog Star app.
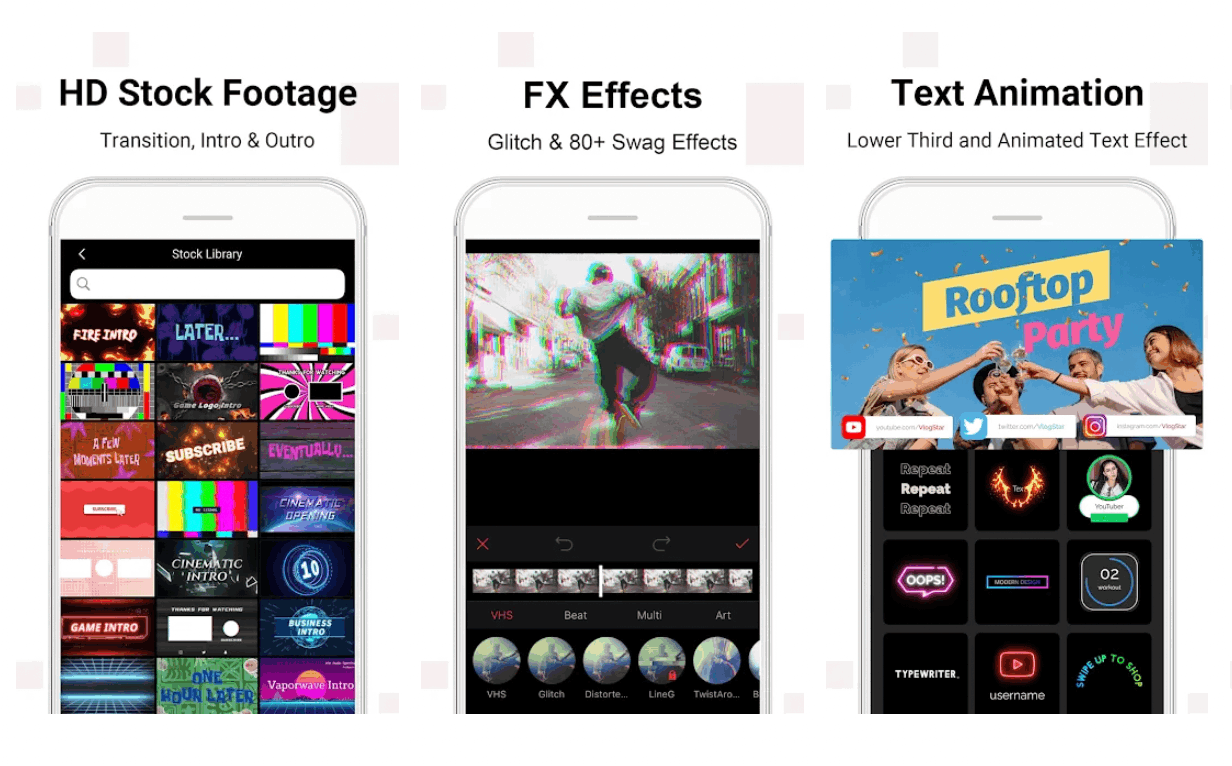
The Vlog Star app lets me choose the font style and size of the text I want to put in a frame. I can customize the text’s color, animation, design, alignment, spacing, opacity, and effects. With these options, I can easily ensure that the text will fit in the frame's look.
Aside from texts, I can also add stickers. The app has a library of interesting stickers to make my project more visually pleasing. Interestingly, I can customize a pre-set sticker on the app to match the frames.
Choosing an Audio for the Project
A video will not be complete without audio, so Vlog Star provides a library of free-to-use audio used as background music. I can choose from the following categories: pop, cheerful, soothing, fresh, travel, feature, and cinematic.
However, Vlog Star also allows me to import music from my file storage, especially if I use a voice recording.
Conclusion
The Vlog Star app lets its users enjoy its powerful video editing features to produce quality videos.
Even if Vlog Star has complex video editing tools, it makes sure that all of them are user-friendly to be a great video editing companion for YouTube content creators.
Last updated on December 26th, 2022 at 07:22 pm

