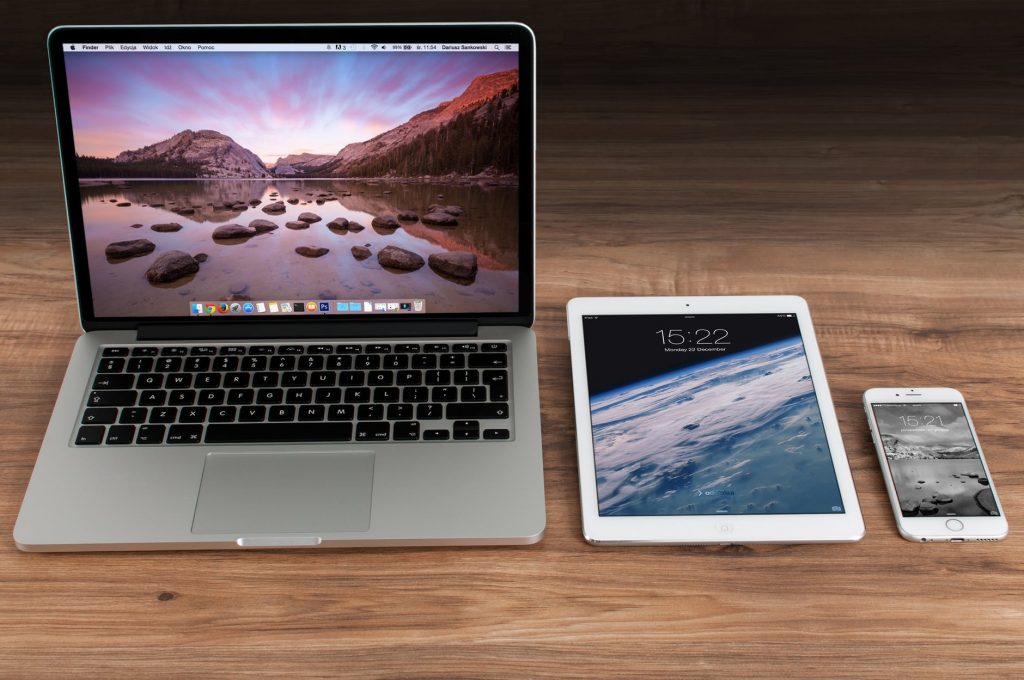
Apple Inc. loves to innovate and make things easier for customers. When it comes to the world’s smartphone iPhone, the company ensures that every single detail is special and unique. Hence, they come up with a fast, power-efficient, and secure system to transfer files from iPhone to iPhone or to Macs, and iPads.
AirDrop allows the transferring of photos, videos, contacts, Passbook passwords, voice memos, and any other files to another iOS device. AirDrop uses Bluetooth to create a connection to other devices. What makes it secure is that it encrypts files, which is a lot safer than sharing files via email.
In this article, you will learn how to utilize AirDrop and find out how to share files seamlessly. In addition, you can also adjust settings on sharing files and choose who can see your device.
Launching AirDrop
AirDrop has advanced settings wherein you can choose to enable file sharing for your contacts only or for everyone. By choosing to be visible for contacts only, other iOS devices cannot detect your iPhone, iPad, or Mac unless they are already logged in your phone.
Here’s what you can do to enable AirDrop:
- For the iPhone 8 or older, you can swipe up from the bottom of the screen to launch the Control Center. For new iPhones, simply swipe down from the top-right corner of the screen to launch the Control Center.
- Tap on AirDrop. The icon appears to be a whirlwind antenna. For new iPhones and new generation iPads, you need to press firmly on the Wi-Fi and Bluetooth section to release more options, where AirDrop is located.
- Choose who can send things to you by tapping "Receiving Off", "Contacts Only" or "Everyone".
Note: If you will choose Contacts Only, you need to log into iCloud.
Steps To Share Files Via AirDrop
If you are sharing media like photos and videos, you can go directly to the Photos app and choose the files you want to transfer. Follow the steps below to share files.
- Turn On AirDrop.
- Select the items you want to share from Photos app.
- Tap the share button, an arrow on the lower left side of the screen.
- Click on AirDrop.
- Choose the recipient from the list.
- Complete file transfer.
Note that you must take care to send the files to the intended receipt. Aside from the name of the device, you can also see the picture, if there is any. Also, note that AirDrop can only detect devices that are nearby or within 30-feet.
Using AirDrop From A Mac
Sharing files from Mac to other devices is also possible using AirDrop. Follow these steps to set up the file transfer.
- Open Finder and choose to Go > AirDrop from the menu bar.
- A new AirDrop finder will pop out of the screen. At the bottom part, click on “Allow me to be discovered by:” then choose between "No One", "Contacts Only" or "Everyone".
- Wait for the device to appear on the screen.
- Drag files you wish to transfer over the user icon and drop them.
- Complete file transfer.
Note: To locate AirDrop easily, you can keep it under the Favorites tab on Finder.
AirDrop Word, Excel Or PowerPoint Files
The thing is, you don’t only use AirDrop to share media but also Office files like Word, Excel or PowerPoint. Using your Mac, follow these steps to get started.
- From the Word, Excel or PowerPoint file, click on the Share button on the upper right corner of the window.
- A new box will pop out asking for sharing options. Click "Send a Copy."
- Choose AirDrop from the drop-down menu.
- A new window will appear to enable you to share the file with nearby devices. Choose the device from the list.
System Requirements
To enjoy the AirDrop feature, iOS devices need to be an iPhone 5 or newer, and for iPads, at least fourth generation or newer. Additionally, the processing system must be at least iOS 7. For the AirDrop feature on a Mac, the computer must be made in 2012 or later, running iOS 10.10 Yosemite or later.
You can use AirDrop to transfer files easily to other iOS devices. To secure your device, change the receiving settings every after transferring media. This way, you cannot receive anything from other devices, especially when you are out in public places. Want to learn more technology tips? Click here.


