In this highly digital age, taking photos and capturing memories has become a part of everyday life. After all, in many ways, this has become one of the most accessible ways of preserving memorable events. To achieve the best possible version of your photos, editing images is important.
Whether it’s shooting in raw format or tinkering with different filters and presets, editing provides numerous advantages and benefits to just about anyone. From enhancing particular details to correcting colors, enhancing images affords individuals the freedom to explore what works best for their photos. The options are endless, with the right skills.
While there are click and shoot cameras and even professional-grade equipment nowadays, there’s no denying that shooting photos is relatively easier than modifying them. Thankfully, there are now guides available on the internet that you can use to your advantage. To know more about the basics of raw image file editing, continue reading.
What You’ll Need
To start your journey, you need to have a digital camera that allows you to capture images in raw format. Apart from a digital camera, you are also required to have a trusty tool or software that supports raw images. Some examples of programs that support these formats include Adobe Photoshop and Adobe Lightroom. Of course, a laptop or personal computer to run the editing software is also essential.
Steps You Need To Take
Now that you have your equipment on hand, you need to start from the top. Here are the basics of raw image file editing and the steps you should follow.
Step 1: Camera Settings
Go to the Menu button and set the Image Quality to Raw or Raw + JPEG.
Step 2: Take Photos
Find subjects or scenery you wish to capture on your camera. Make sure that the framing is just right and achieves your end goal.
Step 3: Import Photos Into The Software
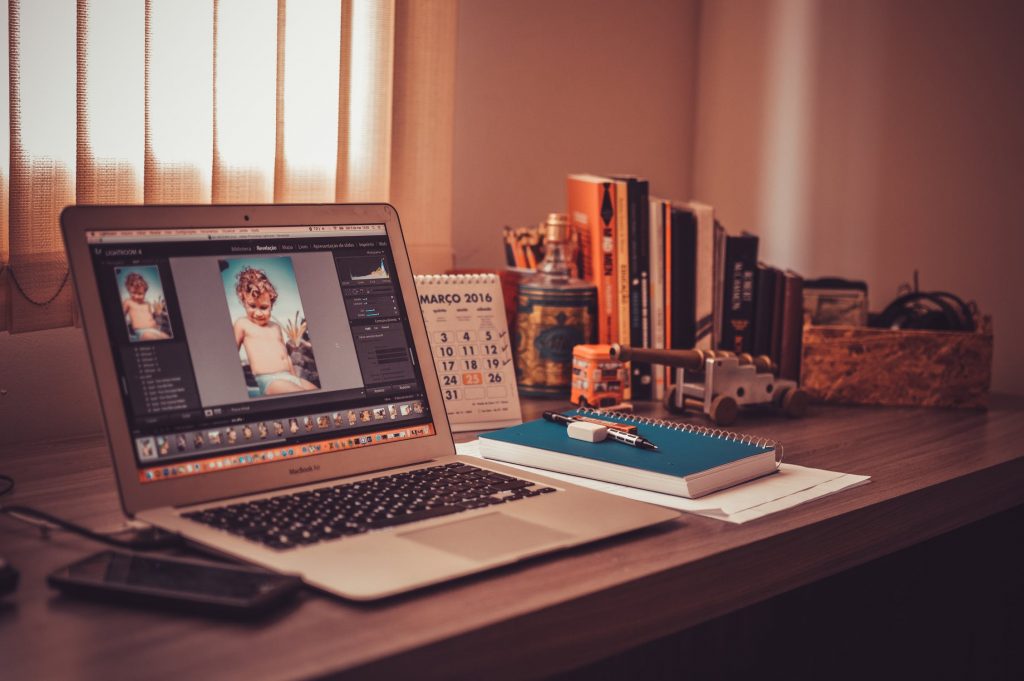
Run your editing software and import the selected photo or photos. For this purpose, we’ll be using Adobe Lightroom to edit. Then, import the photos by clicking ‘Import’, found on the bottom left side of the screen.
Step 4: Make the Necessary Changes
Edit your photos' various properties until they have achieved the desired look.
Ways To Edit Your Photos
Below you will find various features that you can edit and adjust.
White Balance
Fix the white balance settings, which you can find under treatment. This setting allows you to get the proper foundation for the image you are modifying. This may also be manipulated on the camera itself.
Exposure
For a bright image, amp up the exposure on your photo. Raw images are more forgiving compared to their JPEG counterparts. In the event that you have captured an overexposed image in raw, it can still be salvaged by playing with the exposure.
Contrast
Contrast is defined as the difference between the light and dark pixels present in the photograph. To gauge what you should do, be sure to pay attention to the range of colors. Images that contain a limited number of colors are low in contrast, while those that have different colors, as well as those that have brighter highlights and deeper shadows are high in contrast.
You may tweak the photo’s contrast to make it more vibrant and vivid or to tone it down for a more muted approach.
Highlights
A bright spot in the photograph is called a highlight. This is typically one of the brightest parts of the whole image. These can come from bright, intense lights or similar causes.
Highlights that have been overexposed will once again become salvageable using the slider. Bringing it over to a negative value allows the overexposed area to ‘recover’ and achieve a more normal output.
Shadows
Shadows provide depth and dimension to images. These lend more definition, allowing the eye and the mind to recognize that what you are looking at is real and three-dimensional.
To bring photos or images that are considered too dark to life, make sure to play with the slider to make the shadows lighter than how they originally appeared.
Whites And Blacks
This adjustment tool helps adjust the whiteness and blackness of your image respectively. The higher the slider is, the whiter and grayer the objects in your image appear. If the slider decreases, white objects will take on a grayer appearance, while black objects will maintain their jet-black look.
The Bottom Line
The basics of raw image file editing shouldn’t be something you are scared of. Armed with these tools and knowledge, you can now experiment with the raw files and photos you have on hand without much difficulty.


